Today I pulled out my laminator, binding machine, paper and a few other supplies and created this DIY spiral notebook and I wanted to share with you how you can make one yourself. It's not as hard as you might think and if you don't have the laminator or binding machine, you could easily have your local office supply store laminate and bind it for you.
Let's get started, you only need a few supplies, I gathered these items:
- 40 sheets printer paper for the inside of your notebook
- front cover and back cover, print any image
- Laminating pouches, I used 6x9 inches
- Laminator
- Clear binding coil
- Binding machine
- Coil Cutting and Crimping Tool
You can create your notebook any size - larger or even smaller than mine. I'm sharing with you the measurements I used.
Notebook is 6X9 inches when completed
- Laminating pouches - 6x9 inches
- Covers - 5.75x8.75 inches
- Inside sheets - 5.5x8.5 inches
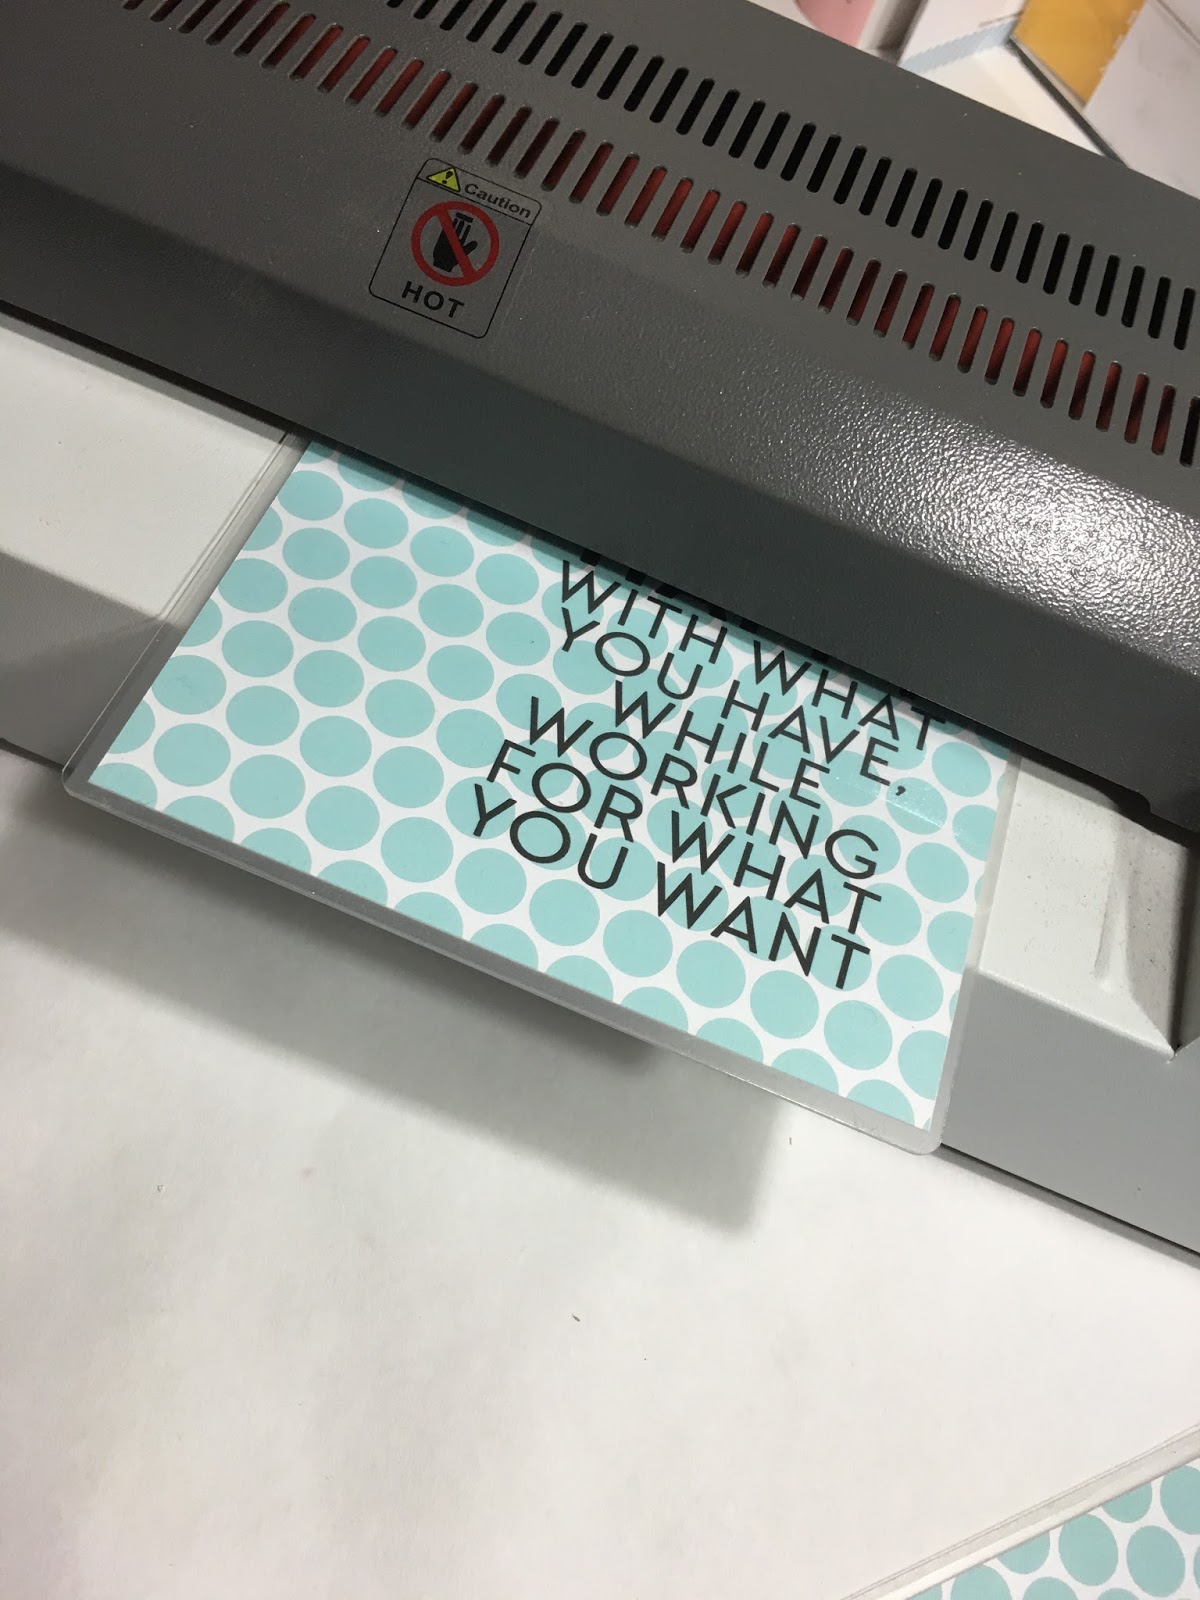
Turn on the laminator to pre-heat. Set temperature based on your manufacture's instructions. Print out covers, cut and then insert the front and back covers into the laminating pouches. Using the binding machine punch holes into the front and back covers. Count out 40 sheets of printer paper, cut them to size and punch those. There are 80 total pages inside the notebook.
Line everything up, add the coil and then crimp the ends of the coil.


2 comments
Love this! I love journals and Calendars, and Fun paper!! Thanks!
Nice job. Would love to know more about that binding machine and where I might be able to get it.
Post a Comment